Thursday, August 25, 2016
Dreamscape Picsart Tutorial By AKASH SHAKY
Dreamscape Picsart Tutorial By AKASH SHAKY
Dreamscape
Learn how to give your pictures a beautiful dreamy haze. Well show you how to overlay images, play with color, and add a shimmering Bokeh Mask as a final touch.
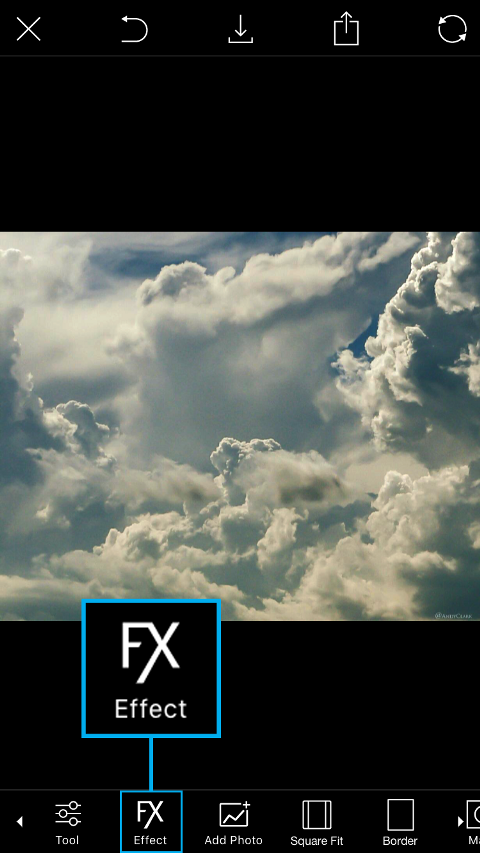 | Step 1Open a picture of clouds in the photo editor. Tap on the Effect icon. |
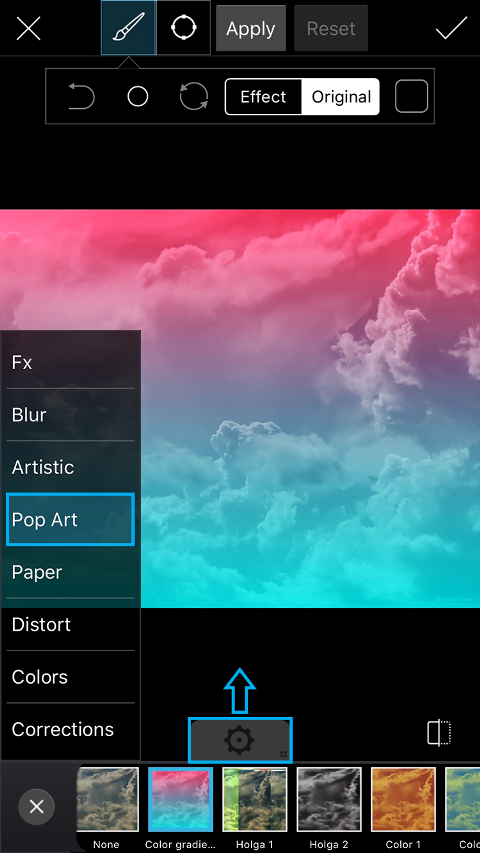 | Step 2Open the Pop Art section and select the Color Gradient Effect. Tap on the gear icon to open the Effect settings menu. |
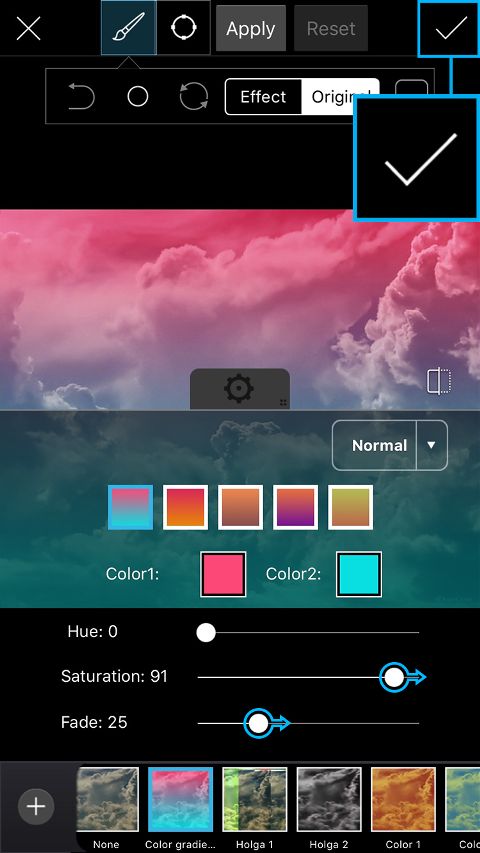 | Step 3Choose the color scheme you like, or create your own by tapping on the Color1 and Color2 boxes. Use the sliders to adjust the saturation and fade. Tap on the check mark to confirm. |
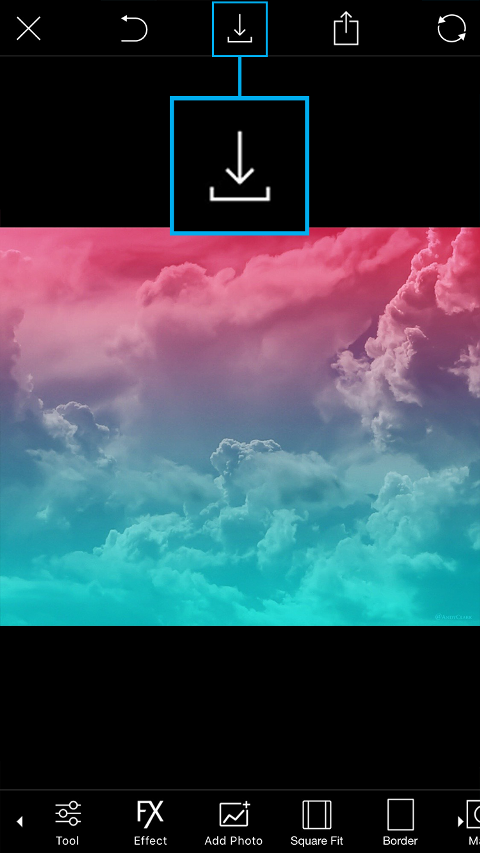 | Step 4Save the cloud image that you just created, and open a picture of a city in the photo editor. |
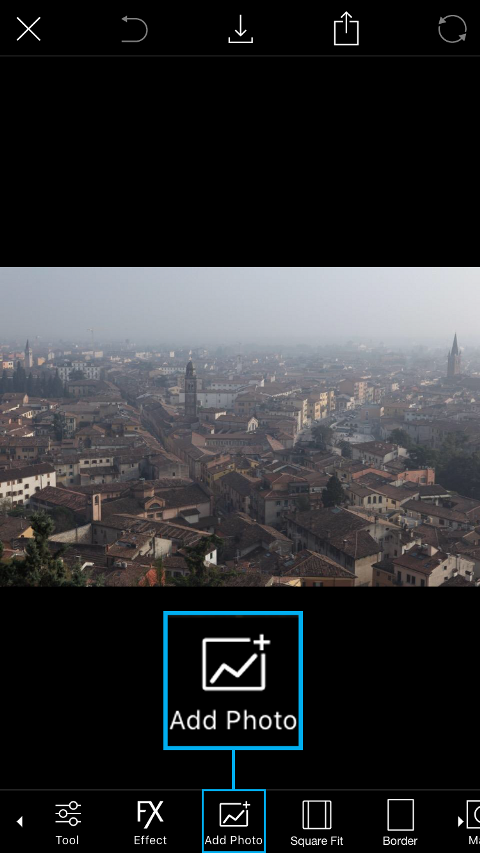 | Step 5Tap on the Add Photo icon and select your cloud image. |
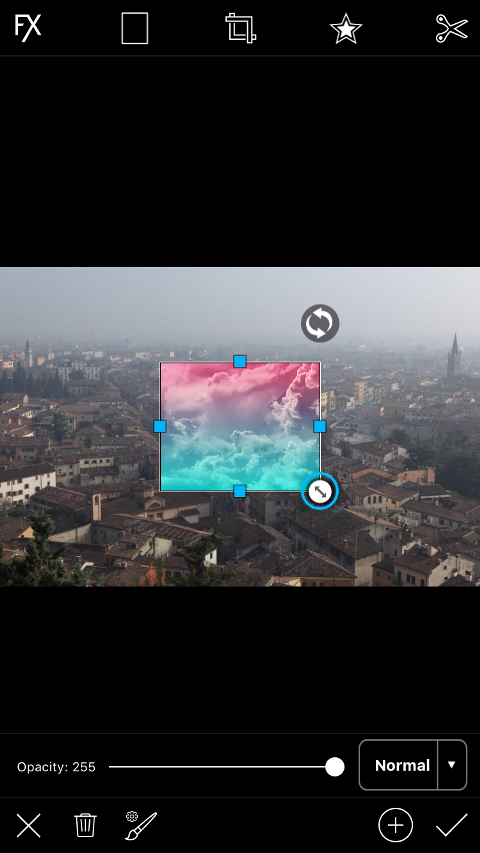 | Step 6Use the arrow icon in the bottom right corner to enlarge the added image, and drag it to place it. |
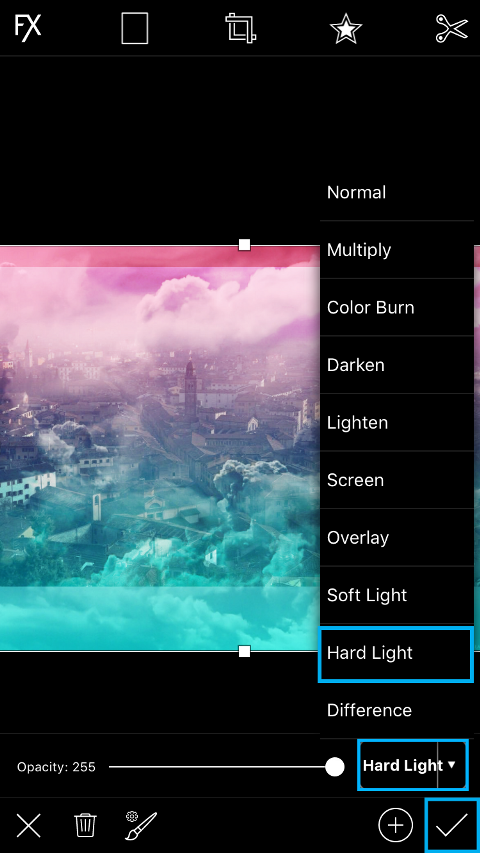 | Step 7Tap on “Normal” at the bottom of the screen to view your blending mode options and select “Hard Light.” Tap on the check mark to confirm. |
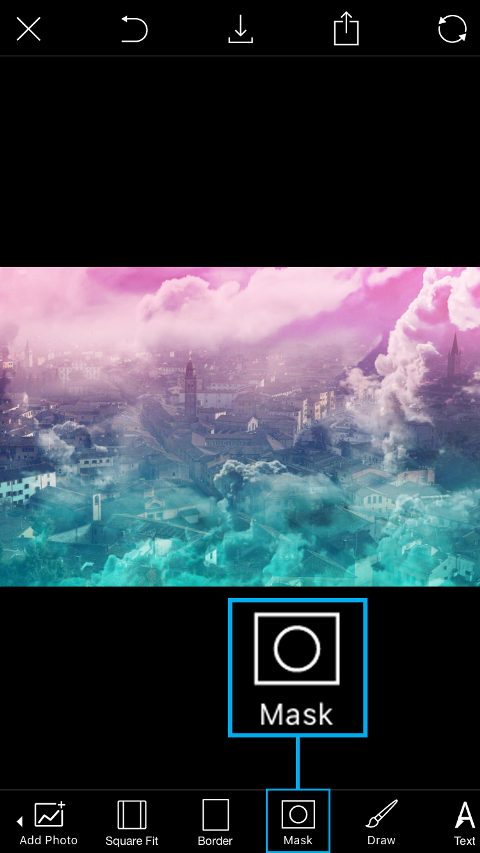 | Step 8Tap on the Mask icon to open the Masks menu. |
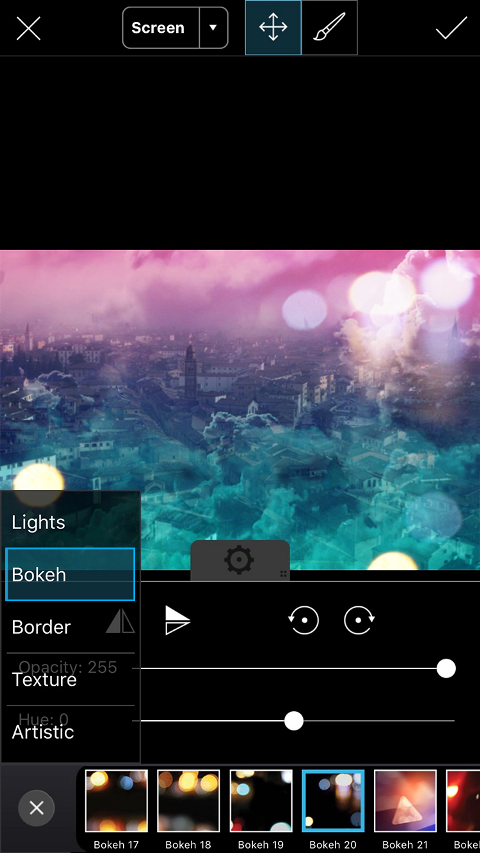 | Step 9Open the Bokeh section and select the Bokeh 20 Mask. |
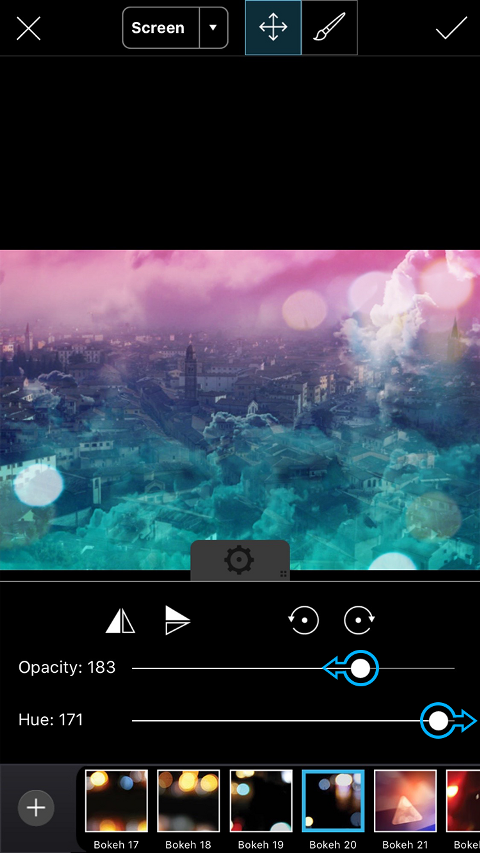 | Step 10In the settings tab that opens, use the sliders to adjust the opacity and the hue of the Mask. |
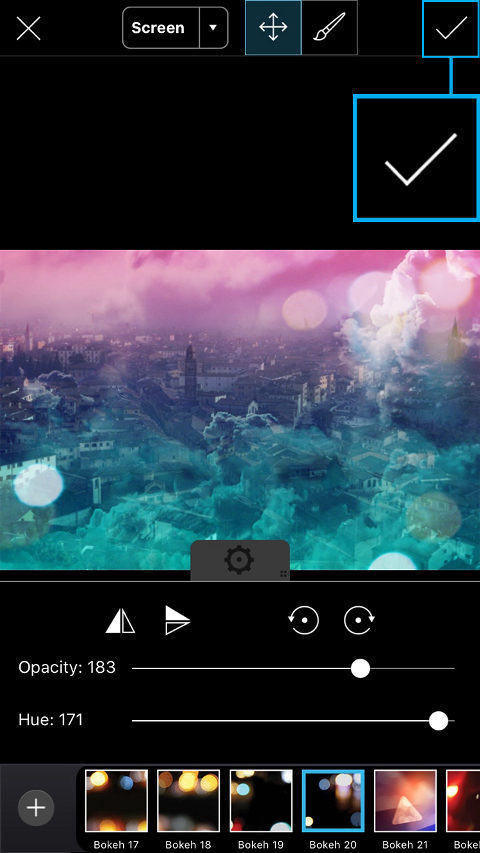 | Step 11Tap on the check mark to confirm. |
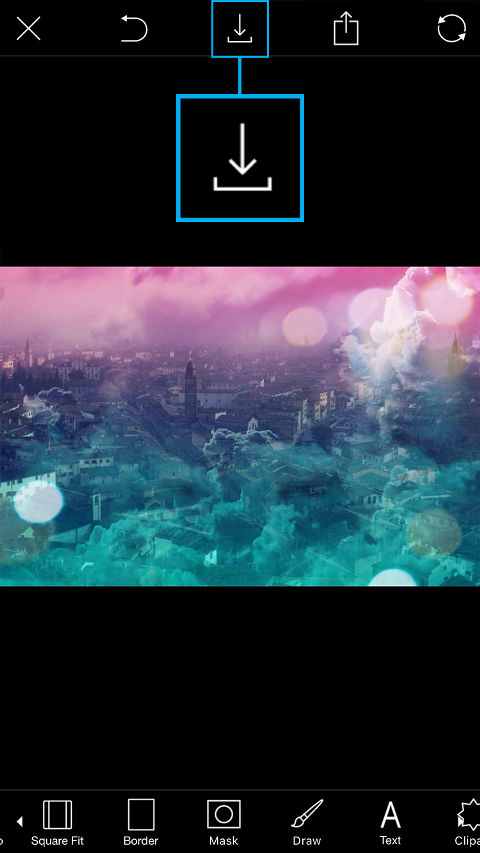 | Step 12Tap on the Save icon to save your work. Don’t forget to share your image with the hashtag #Dreamscape! |
Get link for download